Classic inventory and route guide

Code Veronica Item Box Guide: Key Items, Handoffs, and Save Routes

Use the item box as a route planner, not a storage dump. This classic Code: Veronica X guide explains where to park key items, how to prepare Claire-to-Chris handoffs, and which inventory mistakes create the longest backtracking loops.

  • Primary keywordCode Veronica item box
  • Classic scopeCode: Veronica X
  • Main focusKey items and transfers
  • Remake boundaryNo unconfirmed placements
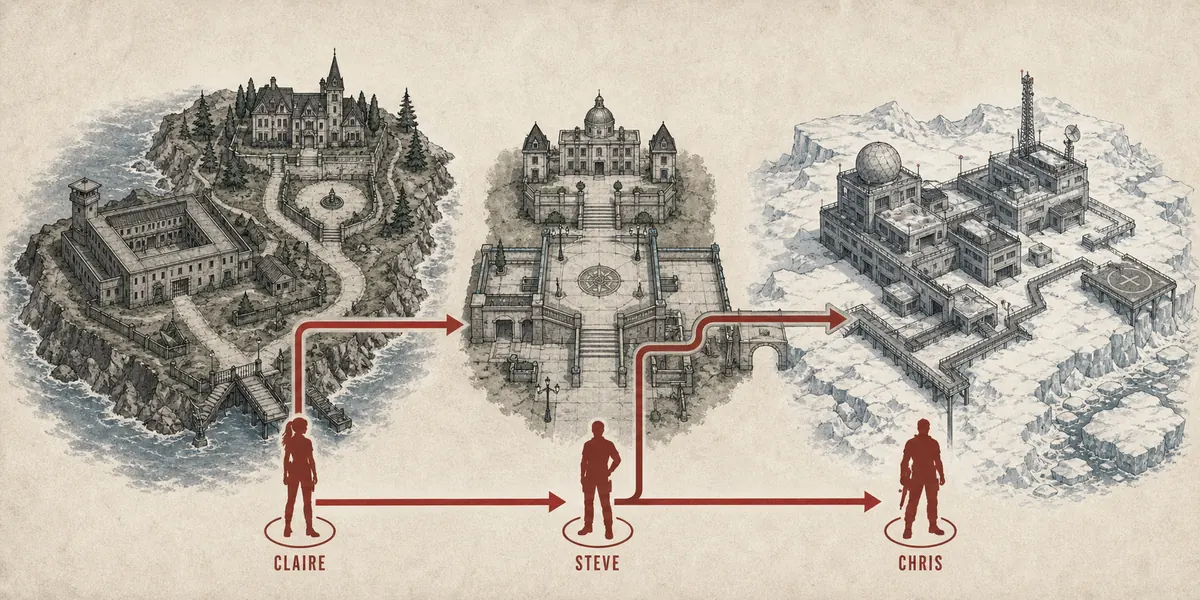
Editorial route map showing the connected island, facility, and Antarctic sections of Code Veronica
Existing editorial route visual used to explain why item-box planning matters between Code Veronica areas.

Quick answer: how should you use the Code Veronica item box?

The safest Code Veronica item box routine is to keep one box as your route anchor, group rare ammunition together, and leave at least one free inventory slot before every key-item chain. The box is not only a place to hide spare herbs. It is the memory system that lets you return to a puzzle, hand equipment to another character, and recover from a failed boss attempt without searching every room again.

On a first classic run, place objects by job: current route items at the front, boss reserves in one predictable position, and weapons or ammunition that belong to the next playable character in a separate stack. Before leaving a save room, ask three questions: what must be carried to open the next gate, what can wait in the box, and which item will be needed after the next character transition? That short pause prevents most avoidable backtracking.

This page covers the classic Resident Evil - Code: Veronica X campaign. It complements the room-by-room walkthrough, puzzle guide, weapons guide, and boss preparation pages instead of replacing them. If a release changes room names or item timing, use the logic here as a planning method and confirm the exact pickup in your own version.
Box roles

Four useful item-box groups for a first run

The exact room does not matter as much as a consistent grouping rule that you can remember after a death or character switch.
Everyday progress

Route anchor

Keep the key item for the next known gate, plus the map or utility item that explains why you are carrying it.

Where to keep it
The save room closest to the next locked door or transfer point.
Use it for
Short trips between a box, a puzzle room, and the next safe return.
Avoid
Do not bury the active key item under rare ammunition or duplicate herbs.
Protected resources

Boss reserve

Group strong rounds, healing, and a backup weapon in one visible stack so a panic reload cannot spend them by accident.

Where to keep it
A box you can reach before the boss route, with a separate save file nearby.
Use it for
Testing a fight without turning one failed attempt into a full campaign reset.
Avoid
Do not move the reserve into a character inventory just because there is an empty slot.
Character transition

Handoff shelf

Store the items the next playable character will need before the story makes the handoff costly or one-way.

Where to keep it
The last reliable save room before a cutscene, airport section, or Antarctic transition.
Use it for
Making Claire-to-Chris preparation readable instead of relying on memory.
Avoid
A weapon left with the wrong character can be technically safe but practically unavailable.
Post-death reset

Recovery shelf

Keep a small spare set of healing and ordinary ammunition for a retry without dismantling the whole inventory.

Where to keep it
The box used by your most recent stable save.
Use it for
Recovering from a bad attempt while preserving the boss reserve and handoff stack.
Avoid
Restock it after the attempt so recovery supplies do not become your only supplies.
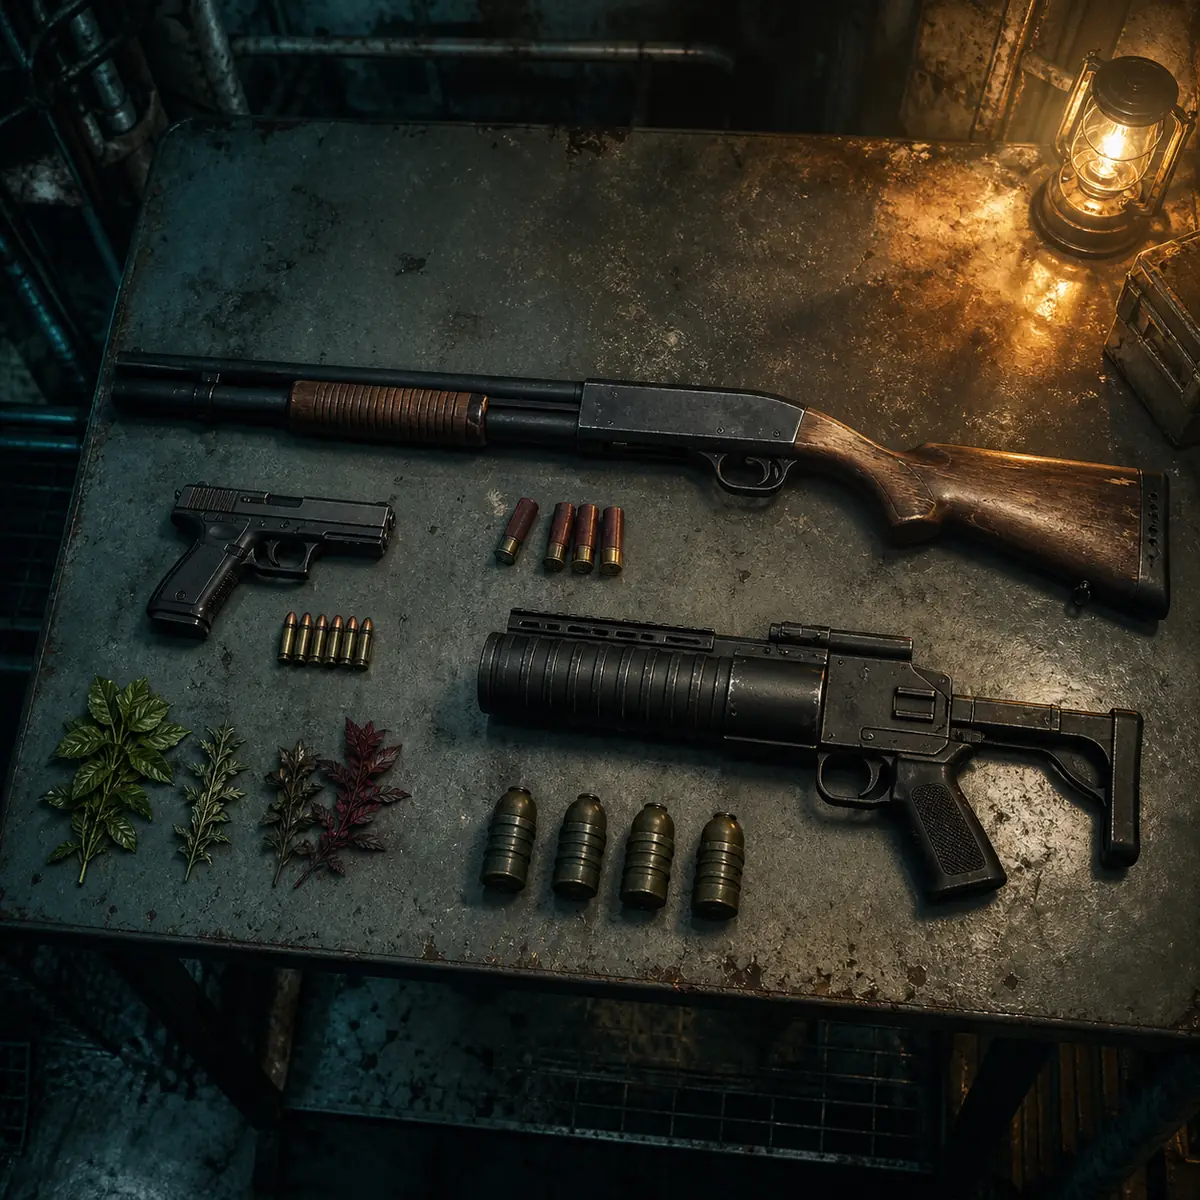
Editorial survival-horror loadout visual showing a compact weapon and ammunition plan
Existing editorial loadout visual used as a reminder to reserve inventory space for route items.

Practical route

A five-step item-box routine for Rockfort to Antarctica

Use the same short check at every major return to a save room.

The most reliable inventory habit is a loop: identify the next gate, stage the required object, protect the reserve, and leave with one free slot. The route below describes the decision rather than promising an exact room order for every release.

1

Name the next gate

Before touching the box, say what blocks progress: a proof, emblem, key, valve, extinguisher, or character-specific item. If you cannot name the gate, keep exploring or check the walkthrough rather than moving random objects.

2

Stage only the next chain

Take the first item and, at most, the second item that belongs to that gate. Leave later puzzle objects parked. Carrying the entire chain makes an unexpected cutscene or enemy encounter harder to recover from.

3

Protect the boss reserve

Check that rare rounds, strong healing, and the planned finisher are still in the reserve stack. If a route forces you to borrow from it, write down what you borrowed before leaving the room.

4

Prepare the handoff shelf

When Claire is approaching a transition, stage a routine weapon, healing, and one pressure answer for Chris. Keep the shelf together so you do not need to revisit several boxes after the story switches control.

5

Save after the reset

Once the box is organized and the next route begins, create a new save. This gives you a clean recovery point if the next puzzle, boss, or character switch costs more resources than expected.

Key-item storage decisions by route phase

This matrix is a memory aid. It avoids claiming a universal speedrun route and focuses on what should be visible when you open the box.

Route phaseItem groupActionSpace ruleReason
Early RockfortFirst gate key and mapCarry the active key; park duplicatesLeave one slot freeThe opening route teaches the box rhythm and punishes clutter.
Prison to facilityProofs and emblemsKeep the next proof at the route anchorStore weapons before puzzle loopsA proof is progress only when it can reach its matching gate.
Airport approachHandoff suppliesBuild the Chris shelf before the transitionKeep healing togetherThe next character should not inherit a mystery box.
Character switchUtility tools and ammoRecheck ownership after the cutsceneDo not fill every slotThe right item in the wrong inventory is still a route delay.
Antarctic returnBoss reserveMove only the planned setOne weapon, healing, and key itemLate fights are easier when the reserve remains readable.

Claire and Chris

Character handoffs: what to stage before the story changes

A handoff shelf prevents the classic mistake of treating a character change as a full inventory reset.

Leave a routine answer

Chris should have a dependable ordinary weapon or enough ammunition to reach the next safe room. Do not assume the first rooms after a switch will be harmless.

Keep healing visible

Stage a modest healing set rather than carrying every herb into Claire's last section. A balanced shelf is safer than a perfect Claire inventory.

Mark rare ammunition

Place Magnum, sniper, assault-rifle, and special grenade rounds together. If you test a boss plan, return every unused round to that same position.

Reserve a puzzle slot

The next character may need a key item immediately. Leave a slot open and avoid filling it with a duplicate weapon or a second stack of ordinary rounds.

Save before committing

Create a handoff save before a one-way story beat so you can correct the shelf without replaying the island route.

Common traps

Inventory mistakes that create unnecessary backtracking

Most item-box problems are predictable. Fix the habit, not just the individual missing item.

Carrying every key at once

A key that opens a later gate is not helping the current room. Park it with a note of its destination and keep the active chain visible.

Scattering ammunition across boxes

A rare round in three different rooms is harder to count and easier to forget. Use one reserve position and return leftovers after each attempt.

Filling all slots before a puzzle

The puzzle can be correct and still fail because a required object cannot be picked up. Leave one slot before entering a known item chain.

Confusing a box with a save

Reorganizing without saving creates a false sense of safety. Save after a transfer and before a boss, then restore the recovery shelf after the attempt.

Classic Code: Veronica X scope and remake boundary

This is a classic Resident Evil - Code: Veronica X resource guide. The grouping rules are deliberately more durable than a room-by-room list, but the examples still assume the legacy campaign with Claire, Chris, Rockfort Island, the airport, and the Antarctic facility. Pair them with the site's walkthrough and map pages when you need an exact door or pickup.

The announced Resident Evil Veronica remake may change item-box placement, inventory capacity, room connections, puzzles, weapons, or the timing of character handoffs. Until Capcom publishes first-party gameplay or release documentation, this page does not present classic storage locations as remake information.

Continue the route

Pair item-box planning with the right guide

Use the page that matches the blocker in front of you, then return to the box with a clear next action.

FAQ

Code Veronica item box questions

Keep the next key-item chain, rare ammunition, healing, and handoff supplies in predictable groups. Leave one inventory slot open before a known puzzle or character transition.

One free slot is a practical minimum before a short puzzle chain. Leave more space when the next route includes several pickups, a cutscene, or a character switch.

Stage a routine weapon, modest healing, one pressure answer, and a free slot. Keep rare ammunition together in a marked reserve instead of scattering it across several boxes.

Carry only the next proof or emblem in the active chain. Store later objects until the route makes their destination clear; this keeps the inventory flexible and reduces accidental backtracking.

No. It is classic Code: Veronica X guidance. The remake may change capacity, placement, item timing, or character handoffs, so use official first-party information for remake-specific claims.

Reload the stable save, take the recovery shelf first, and borrow from the boss reserve only when you have a tested plan. Return unused rare ammunition to the same reserve position after the fight.