Enemy and monster guide

Resident Evil Code Veronica Monsters & Enemies Guide

Use this spoiler-aware classic Code: Veronica X bestiary to understand which enemies create real route pressure, where common monsters appear, and when a first-run player should fight, reposition, or simply save ammunition and keep moving.

  • Primary keywordCode Veronica monsters
  • Classic scopeCode: Veronica X
  • Guide focusThreats, habitats, decisions
  • Remake boundaryRoster not assumed
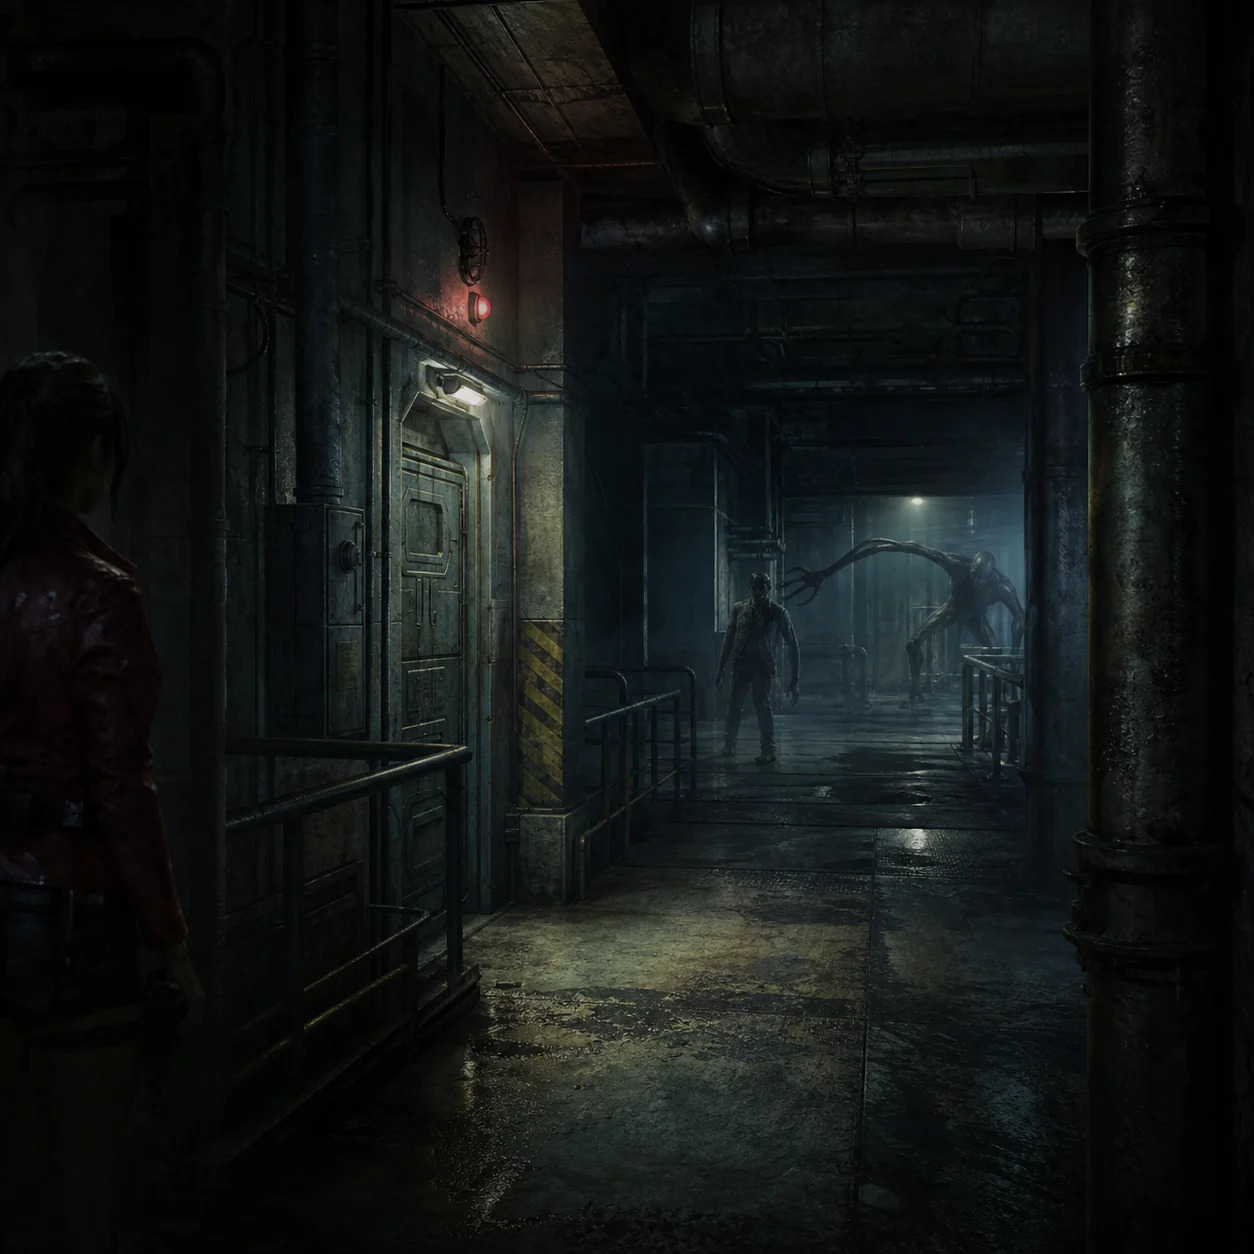
Editorial concept illustration of a survival-horror corridor with a survivor and enemy silhouettes
Editorial concept illustration created for this fan guide. It is not an official screenshot, gameplay capture, or Capcom artwork.

Quick answer: what counts as a monster in classic Code Veronica?

The useful way to read a Resident Evil Code Veronica monsters guide is not as a list of every creature name. Classic Code: Veronica X constantly asks whether a threat is worth the ammunition, healing, inventory space, and time required to remove it. A zombie in a narrow doorway, a Cerberus on an outdoor return route, and a Bandersnatch in a long corridor may all be dangerous, but they create different decisions. The bestiary below keeps those decisions visible.

For a first run, ordinary enemies are the creatures you meet while moving between puzzles, item boxes, save rooms, and story transitions. They are different from the major boss encounters covered in the Bosses guide. The distinction matters because a boss plan can justify stockpiling strong weapons, while a regular enemy plan often means learning a safe angle, leaving one inventory slot open, or walking past a threat that does not block progress.

This page focuses on the classic release and Code: Veronica X route. Enemy placement, damage values, camera behavior, checkpoints, and available weapons should not be treated as a promise about the announced Resident Evil Veronica remake. Use the official Resident Evil channels for remake facts, and use this page for legacy survival-horror planning rather than speculation.

The enemy names and broad encounter context are cross-checked against established Code: Veronica reference material, but the recommendations here are editorial route advice. They are written for players who want to finish a run with a recoverable save file, not for a no-damage challenge or a speedrun category. If your goal is a fast clear, the correct answer may be to evade more aggressively than this page suggests.

A simple rule ties the whole guide together: fight when an enemy blocks a required path, threatens a forced interaction, or can be removed cheaply and safely; evade when the room is optional, the route loops back soon, or spending rare ammunition would make the next section harder. Keeping that rule in mind is more valuable than memorizing one perfect weapon order.

Enemy families

Three enemy groups that change how you plan a route

Think in terms of pressure and habitat first. The same weapon can feel efficient in an open room and wasteful in a corridor where movement is the real answer.
Common infected and animals

Zombies, Cerberus, and small threats

These enemies are familiar, but their danger comes from repetition. A single zombie is manageable; several enemies around a door, stair, or item pickup can turn a cheap encounter into a healing tax. Cerberus attacks are more about spacing and return routes than about clearing every outdoor area.

Main pressure
Contact damage and route clutter
Best habit
Clear only forced lanes
Typical decision
Fight near doors; evade loops
Flying, crawling, and poison hazards

Bats, spiders, moths, and area hazards

Small or airborne enemies are easy to underestimate because they do not always look like a traditional duel. They can interrupt aiming, drain healing, or punish a careless route through a dark corridor. In poison-risk areas, the cost of an encounter is not only health; it is the time and inventory needed to recover.

Main pressure
Disruption and status risk
Best habit
Read the room before aiming
Typical decision
Use space; do not chase
Mutated facility threats

Bandersnatch, Hunters, and Sweepers

The larger mutated enemies make corridor geometry important. A long reach, a sudden leap, or a narrow approach can make a familiar weapon feel unreliable. These encounters deserve more respect than a routine zombie, but they still do not all require a full inventory dump if a safe route remains open.

Main pressure
Reach, speed, and tight rooms
Best habit
Keep distance and an exit
Typical decision
Spend only when blocked

Habitat and behavior

Why the same enemy feels different in Rockfort and Antarctica

Enemy placement is part of the puzzle. Use the environment to decide whether to line up a shot, break sight, or preserve a route for the next character.
Editorial concept bestiary composition showing zombies, bats, moths, spiders, and mutated creatures in industrial and Antarctic settings
Editorial bestiary concept art used to explain enemy families and habitats. It is not an official enemy screenshot or in-game roster image.

Doorways and stairwells

A doorway is not automatically a safe line. It can be a useful choke point for a slow enemy, but it can also trap the player in an animation or force a close-range collision. Before firing, check whether the next door is unlocked and whether you have room to turn around.

Open outdoor lanes

Outdoor sections give you more room to reposition, which often makes evasion realistic. Clear an enemy when it guards a required switch, pickup, or narrow return. Otherwise, a wide route and a memorized camera angle may save more resources than a perfect kill.

Research and Antarctic corridors

Later facilities compress movement and add more reasons to carry puzzle items at the same time. A monster that would be easy in an open room becomes a resource problem when it stands beside a door, an item box, or a one-way transition.

Character handoff sections

Do not judge your inventory only by the current room. A character transition can change which weapon, healing item, or key item is available next. When the story signals a handoff, create a separate save and avoid spending the supplies that the next route may need.

Enemy-by-enemy route matrix

This is a planning matrix rather than a damage chart. Exact weapon efficiency depends on difficulty, distance, aim, and your current inventory, so the decision column is intentionally more useful than a fixed number of shots.

Enemy or group Where pressure appears What can go wrong First-run decision Resource note
Zombies Prison and facility interiors Doorways, corners, item pickups Clear a required lane; evade optional rooms Avoid spending healing to recover from rushed contact.
Cerberus Outdoor compound routes Fast movement on a return path Fight when the lane is narrow or mandatory Open space is a reason to reposition before firing.
Bat Dark corridors and awkward sightlines Aim disruption and contact damage Use distance and avoid chasing into corners A missed shot can cost more than the enemy itself.
Spider Industrial and underground passages Poison risk and blocked movement Clear if it guards a forced interaction Carry recovery room in the inventory before exploring.
Moth Late facility sections Status danger and repeated interruptions Do not linger; route through with a clean plan The safest win is often time saved, not damage dealt.
Bandersnatch Rockfort and research routes Long reach in narrow corridors Keep an exit; fight when progress is blocked Do not let a close-range panic spend rare ammunition.
Hunters or Sweepers Higher-pressure facility routes Speed, damage, and limited turning space Prepare before entering; do not improvise empty-handed Use a safer save before a route that may not loop back.
Large set-piece threats Story-locked encounters Arena rules and forced damage checks Switch to the Boss guide when it is a named fight Keep this page separate from boss-specific weapon plans.
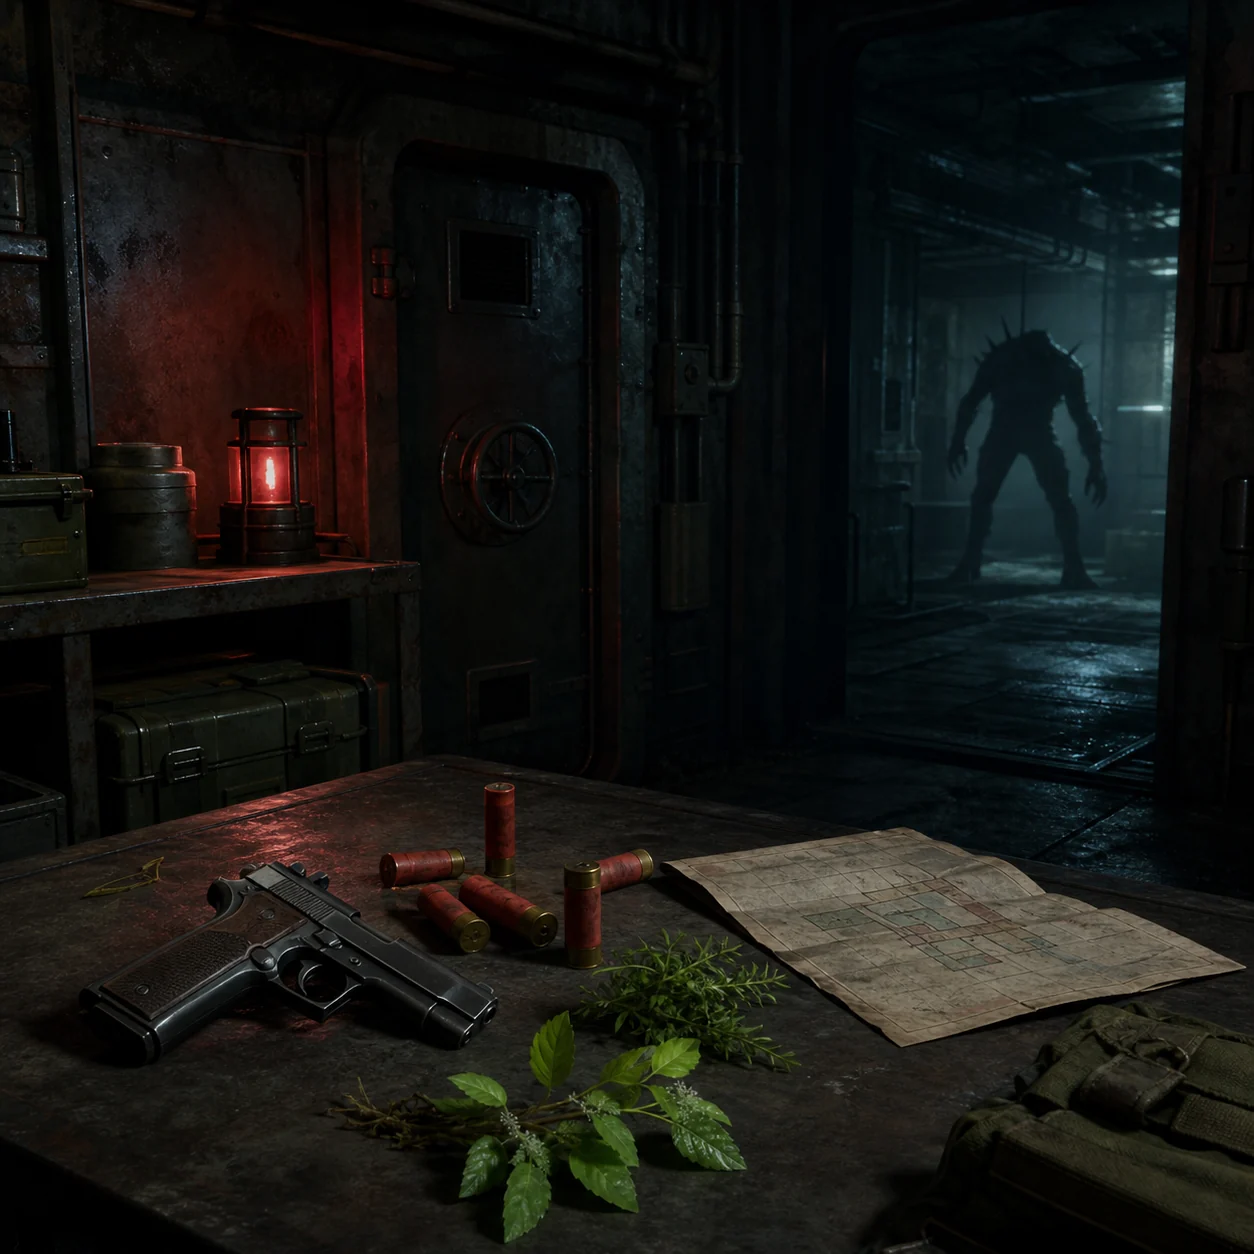
Editorial concept resource table with handgun, shells, healing herbs, route map, and a creature shadow
Editorial resource-planning concept illustration. It is not a real Code: Veronica inventory screen or official gameplay capture.

Resource planning

How to prepare before an enemy-heavy section

A good enemy guide should improve the next decision, not just name the creature. Use this short checklist before you push past an item box or save room.

Leave one inventory slot open

A safe room route becomes less safe when a required key item forces you to drop something in the middle of a hostile area. Keep one slot available before a new corridor, puzzle room, or story transition.

Make a recoverable save

If an area contains a strong enemy, a character handoff, or a one-way door, create a separate save instead of overwriting the only file that still has good supplies. The goal is to preserve choices, not only progress.

Use the weakest safe answer

The weakest safe answer may be a handgun, a wider route, a door reset, or no attack at all. Do not automatically reach for rare ammunition because a creature looks large. Spend heavily when the route requires it, not when fear makes the decision for you.

Check the next character

Classic Code: Veronica can change who you control and which items are immediately reachable. Before a major story beat, ask whether the next playable section needs a weapon, healing, or empty inventory space that you are carrying now.

Separate poison recovery from damage output

A status effect changes the value of every later room. If a poison-capable enemy is near an optional pickup, it may be correct to skip the pickup rather than trade healing and time for a small reward.

Re-read the route, not just the enemy name

Use the walkthrough and map pages when you cannot tell whether a threat blocks progress. Enemy knowledge is most useful when it is connected to a door order, item transfer, or return path.

How this monsters guide differs from the Bosses guide

This page covers regular enemies and route hazards that shape movement between story beats. It does not try to replace the dedicated Bosses guide, which is the better destination for named arenas, save timing before a forced fight, and late-game resource planning.

If the enemy is tied to a story-locked arena or a named encounter, follow the Bosses guide instead of treating it like a normal hallway threat. That separation keeps the bestiary useful for first-run decisions and keeps boss spoilers out of the early route sections.

The same boundary applies to the remake. Official material can confirm a project, platform, or trailer, but it does not make classic enemy placement a confirmed remake roster. Keep classic Code: Veronica X facts and future remake information in separate mental boxes.

Continue the classic route

Pair the enemy list with the right guide

Enemy knowledge works best when it is attached to the route. Use the linked pages for boss preparation, weapon choices, map transitions, puzzle timing, and story context rather than repeating one broad answer on every page.

Monster guide FAQ

Resident Evil Code Veronica enemies questions

The classic game includes familiar zombies and Cerberus alongside bats, spiders, moths, Bandersnatch, and other mutated facility threats. This page groups them by route pressure instead of pretending every encounter deserves the same combat plan.

No. Regular enemies shape the route between rooms, while named or story-locked arenas belong in the Bosses guide. Separating them helps you decide when to conserve ammunition and when a full preparation check is justified.

No. Fight when the enemy blocks a required path, a forced interaction, or a narrow return route. Evade optional threats when the room is open, the route loops back, or spending ammunition would make a later section less recoverable.

Treat them as disruption and status-risk encounters rather than simple damage checks. Read the room first, avoid chasing into corners, and make sure you have recovery space before exploring an optional area near a poison-capable threat.

No. This is a classic Code: Veronica X guide. Enemy models, placement, behavior, damage, and even which encounters return should be treated as unconfirmed until official remake gameplay or source material says otherwise.

Use the Resident Evil Code Veronica Bosses guide for named fights, arena preparation, save planning, and late-game resource decisions. Use this page for ordinary enemies and route hazards.