Weapons and resource guide

Resident Evil Code Veronica Weapons Guide: Locations, Ammo & Best Uses

A classic Code: Veronica X weapon route for finding the important guns, protecting rare ammunition, and handing the right loadout from Claire to Chris without turning the item box into a second puzzle.

  • Primary keywordResident Evil Code Veronica weapons
  • Classic scopeCode: Veronica X
  • FocusLocations, ammo, and use cases
  • Remake boundaryClassic guidance only
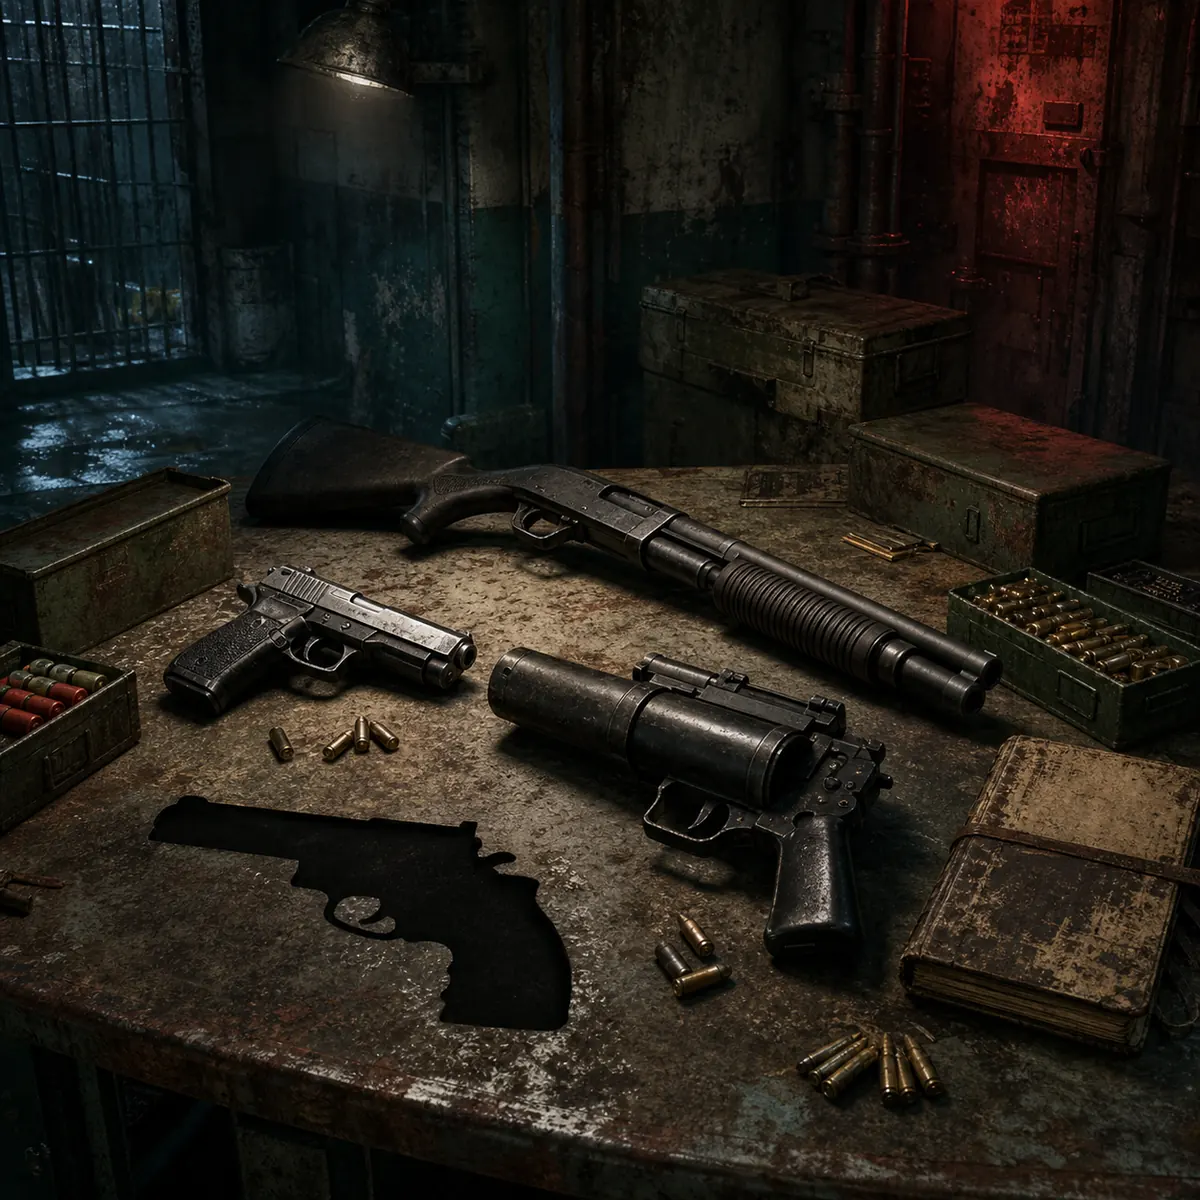
Non-official editorial illustration of classic survival-horror weapons and ammunition on an armory workbench
Non-official editorial illustration created for this guide. It is not a gameplay screenshot or Capcom artwork.

Quick answer: which weapons matter most in Code Veronica?

The most useful Resident Evil Code Veronica weapons are not simply the guns with the highest damage. A first playthrough is shaped by when a weapon appears, which character can carry it, how much ammunition exists, and whether spending it now makes a later boss or route transfer harder. Handgun ammunition and ordinary bow gun arrows cover routine threats; the grenade launcher, shotgun, assault rifle, sniper rifle, and Magnum should be treated as route resources rather than disposable upgrades.

This guide focuses on the classic Code: Veronica X campaign. It lists the practical location cue for each major weapon, the ammunition family it uses, and the situation in which it earns a place in your inventory. Room names and item availability can vary slightly between classic releases, so use the route language as a checklist and confirm the exact version you are playing. For a full room-by-room route, pair this page with the Code Veronica walkthrough.

The announced Resident Evil Veronica remake should not be assumed to preserve these weapon placements, ammunition counts, puzzle gates, or character handoffs. Treat every classic location below as historical game guidance until Capcom publishes remake-specific gameplay details.

Weapon list

Resident Evil Code Veronica weapons and locations

Use the location cues to plan your route, then read the ammo and caution notes before moving a rare weapon into a character's active inventory.
Claire's early sidearm

M93R Handgun

A dependable handgun for ordinary enemies and the weapon that teaches the basic resource rhythm of the island route.

Classic location
Prison Yard, 1F; found during the Steve introduction scene.
Ammo
Handgun Bullets
Best use
Use for isolated zombies and enemies you can safely stagger.
Watch for
Do not turn every hallway into a shooting gallery; route around avoidable targets.
Rare paired sidearms

M-100P Pistols

A pair of rapid semi-automatic pistols with strong crowd-control value, but a limited ammunition story in the classic campaign.

Classic location
Prison Barracks Bunkhouse, 1F; examine the shelf beside the window before the zombie event resolves.
Ammo
Handgun Bullets
Best use
Useful when several weak enemies pressure a narrow room.
Watch for
The pistols are a resource spike, not permission to spend all handgun ammo early.
Flexible Claire weapon

Cross Bow Handgun

The bow gun supports ordinary arrows and gun-powder arrows, making it valuable when you need range without spending your strongest explosive rounds.

Classic location
Observation Room, Military Training Facility 2F; on the table.
Ammo
Bow Gun Arrows and Gun Powder Arrows
Best use
Use regular arrows for weaker targets and explosive arrows for tougher encounters.
Watch for
Do not mix explosive arrows into routine cleanup unless the route gives you a clear return.
Elemental control weapon

M79 Grenade Launcher

The grenade launcher accepts normal, acid, flame, and B.O.W. gas rounds, so its value comes from choosing the right shell rather than firing on reflex.

Classic location
Basement Storehouse, Military Training Facility B1; behind the shutter opened with the Emblem Card.
Ammo
Grenade, Acid, Flame, and B.O.W. Gas Rounds
Best use
Reserve elemental rounds for enemies or route gates that justify their cost.
Watch for
Carrying every shell type at once can crowd the inventory during puzzle chains.
High-output paired automatic weapon

Ingram Submachine Guns

The paired Ingrams can clear pressure quickly and aim at separate targets, but the classic route gives you a finite supply rather than a normal refill loop.

Classic location
Military Training Facility Warehouse 1F, with another route cue in the Tomb at B3.
Ammo
DOT380 ammunition
Best use
Save for dangerous crowds, high-pressure rooms, or a deliberate boss plan.
Watch for
Automatic fire feels safe while the percentage counter is falling; stop before the weapon becomes an empty trophy.
Late automatic weapon

AK47 Assault Rifle

A powerful rifle that can solve a late encounter quickly, but its ammunition is too scarce for casual exploration.

Classic location
Weapon Room, Antarctic Transport Terminal B2; inside the northwest weapons locker.
Ammo
Assault Rifle Bullets
Best use
Plan it around a late boss or a forced high-pressure sequence.
Watch for
Do not confuse having the rifle with having a sustainable ammo supply.
Fixed-ammo precision weapon

MR7 Sniper Rifle

The scoped rifle is a deliberate, distance-focused weapon with a small ammunition ceiling and a route-specific moment of value.

Classic location
Mining Room, Antarctic Transport Terminal B2; dropped by Alfred on the lower level.
Ammo
Sniper Rifle ammunition supplied by the classic route
Best use
Use when a long sightline and controlled shot matter more than rate of fire.
Watch for
The classic reference route lists no additional ammunition, so do not waste shots on routine enemies.
Chris's close-range control weapon

SPAS-12 Shotgun

The shotgun's spread makes it a practical answer to groups and close threats once Chris reaches the training facility route.

Classic location
Iron Walkway, Military Training Facility B1; accessible while playing as Chris.
Ammo
Shotgun Shells
Best use
Use at close range against groups or enemies that are hard to pass safely.
Watch for
Keep shells available for the route ahead instead of firing at every single zombie.
Chris's rare boss finisher

Colt Python Magnum

The Magnum is one of the strongest classic weapons, which is exactly why its ammunition should be protected for the fights that truly need it.

Classic location
Weapon Room, Antarctic Transport Terminal B2; Chris can access it after refilling the extinguisher and putting out the fire.
Ammo
Magnum Bullets
Best use
Reserve for major bosses or a planned emergency where ordinary weapons are not enough.
Watch for
Do not spend Magnum rounds to shorten a hallway; the next boss is the real destination.
Non-official editorial illustration showing a weapon-focused route from a prison island to an Antarctic facility
Non-official route illustration for editorial explanation; it is not an official map or gameplay screenshot.

Location route

A weapon route that follows the campaign's pressure curve

The important question is not only where a gun is found, but whether taking it now improves the next route without filling the inventory too early.
1

Secure Claire's basic tools

Keep the M93R and knife available, then decide whether the next room justifies carrying the bow gun or another key item. Empty space is more valuable than a weapon you cannot feed.

2

Treat the training facility as a resource hub

The bow gun, grenade launcher, shotgun route, and automatic weapons appear around the training-facility loop. Store puzzle objects before collecting a weapon if the box is close.

3

Prepare before the airport transition

Before leaving the early island sequence, check that Claire has healing, a reliable sidearm, and one strong option for a forced encounter. Do not assume every weapon will follow her.

4

Build Chris's loadout on arrival

Chris's route changes which weapons are immediately useful. Recover the shotgun and plan the extinguisher sequence before treating the Magnum as available.

5

Protect late Antarctic ammunition

The assault rifle, sniper rifle, and Magnum are late-route assets. Their value comes from timing and boss preparation, not from clearing every enemy between save rooms.

Ammo and weapon priorities by route phase

This is a planning matrix, not a mandatory speedrun loadout. On a first run, survival and save recovery matter more than perfect damage efficiency.

Route phase First priority Ammo to protect Carry if needed Why
Early Rockfort Handgun Handgun Bullets Knife or bow gun Routine enemies are easier to manage when rare rounds stay in the box.
Training facility Grenade Launcher Acid and flame rounds One active puzzle item Elemental rounds are powerful but can create inventory pressure.
Airport approach Reliable sidearm Healing and handgun stock A strong emergency option Route transitions can punish a full inventory and a weak save state.
Chris opening Glock or shotgun Shotgun shells Room for key items Chris needs a stable baseline before late weapons are recovered.
Antarctic late game Boss weapon Magnum and rifle rounds Healing plus one utility item Rare late ammunition should solve forced fights, not optional hallway damage.
Final preparation Planned finisher The exact boss reserve Only the next-route essentials A separate save lets you test a plan without losing the whole campaign.

Loadout decisions

How to choose a practical Code Veronica loadout

A good loadout gives every carried slot a job: routine damage, emergency stopping power, healing, or route progress.
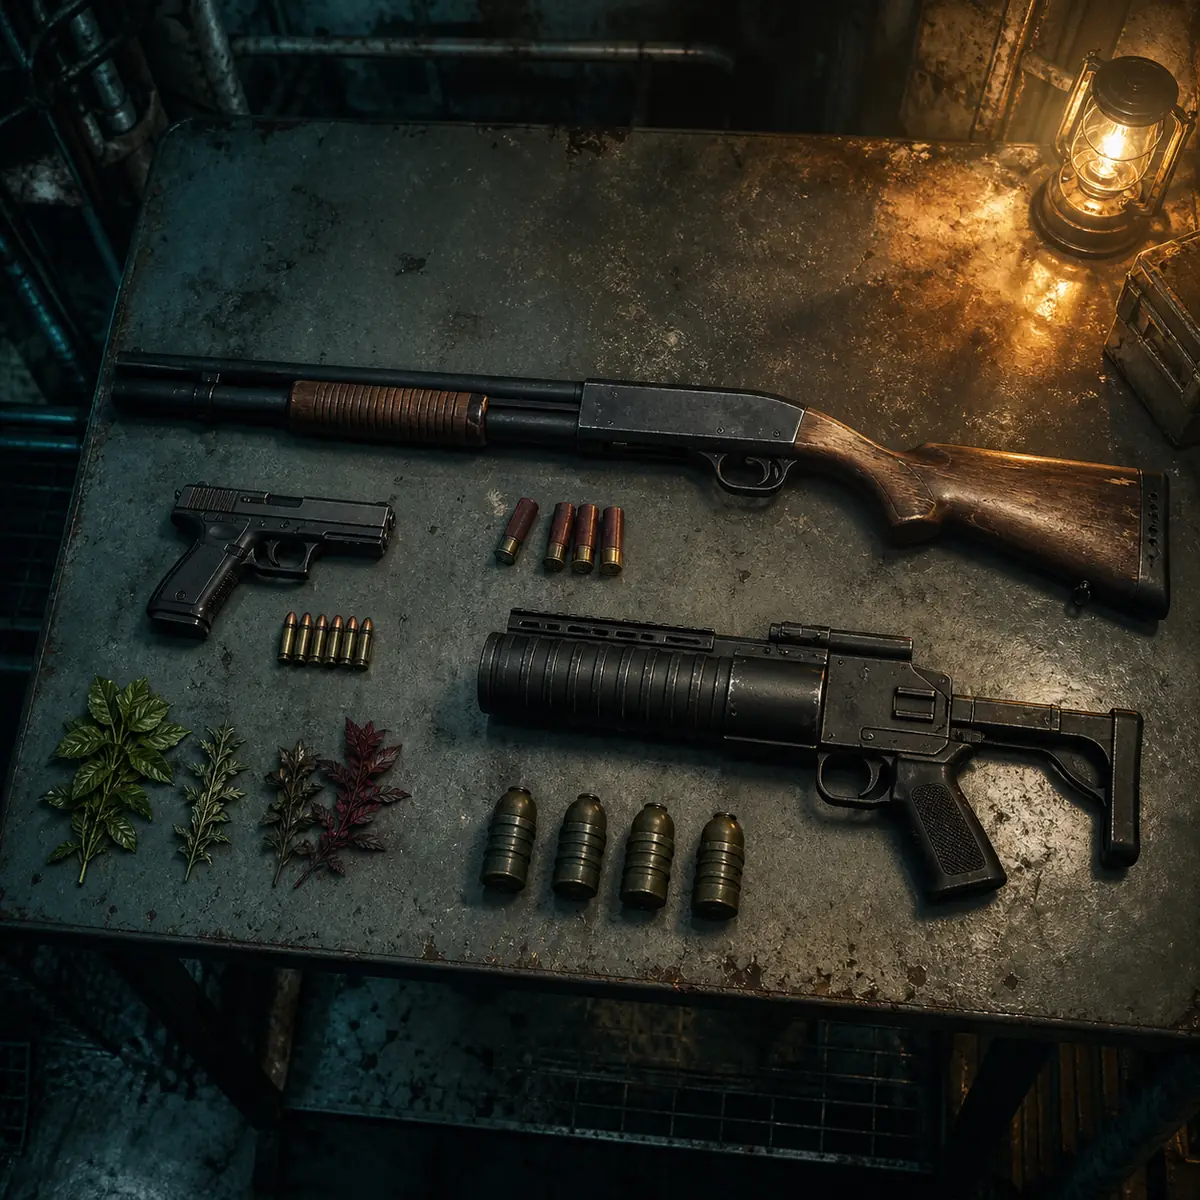
Non-official editorial illustration of a restrained survival-horror weapon and ammunition loadout
Non-official loadout illustration created for this guide; the objects are explanatory, not an in-game inventory screen.

Carry one routine weapon

The handgun, knife, or regular bow gun should handle enemies that are not worth a rare shell. If your routine weapon is empty, do not solve the problem by spending the Magnum.

Carry one answer to pressure

A shotgun, grenade launcher, or carefully chosen automatic weapon is the second layer. Bring it when the next area is known to be cramped, crowded, or boss-adjacent.

Keep healing ahead of damage

A weapon-heavy inventory is still a failed loadout if one mistake leaves you in danger. Leave room for healing and avoid crossing a major transition at critical health.

Reserve space for the route

Code Veronica repeatedly asks you to carry a key item, weapon part, or puzzle object at the worst possible time. A free slot is part of your ammunition plan.

Character handoffs: what Claire should leave for Chris

The weapon question changes when the playable character changes. Claire's best plan is not to empty every box before the airport; it is to leave a readable resource trail so Chris can reach his late-game weapons without inheriting a dead inventory. Use a separate save before a major handoff, especially if you are testing a new route or playing without a guide.

The exact handoff depends on your difficulty, your avoidance habits, and the version of Code: Veronica X. The safe rule is to preserve a balanced reserve: some healing, a routine weapon, a small amount of strong ammunition, and enough space for the next key-item chain.

Do not strand all healing

Chris's route is not a reset button. If Claire carries every green herb and strong weapon into the next story beat, the other route can become needlessly fragile.

Keep rare ammo together

Store Magnum, sniper, assault-rifle, and special grenade rounds in a known box position instead of scattering them across character inventories.

Label your own route memory

Before switching characters, note which box contains the next boss reserve. This avoids repeating the same backtracking search after a failed attempt.

Separate classic facts from remake guesses

A future remake may change who receives a weapon or when a route transfer occurs. Do not carry classic handoff assumptions into remake coverage without official evidence.

Classic Code: Veronica X scope and remake boundary

This page is a classic weapon and resource guide for Resident Evil - Code: Veronica X. The room names, weapon placements, ammunition families, and character access notes describe the legacy campaign and should be read alongside the version you actually own. A community reference index is linked above for cross-checking the weapon list, but it is not an official Capcom source.

The announced Resident Evil Veronica remake may change weapons, room order, item placement, ammo economy, enemy behavior, or the timing of character handoffs. Until first-party gameplay or release documentation confirms those details, this page will keep classic guidance separate instead of presenting old locations as remake facts.

Next reading

Use the weapons guide with the route and boss pages

Weapons become useful when they are connected to route timing, boss preparation, puzzle space, and the characters who can actually carry them.

FAQ

Resident Evil Code Veronica weapons questions

In the classic route, Chris can access the Colt Python in the Weapon Room at Antarctic Transport Terminal B2 after refilling the empty extinguisher and putting out the fire. Treat it as a late-game boss reserve, not a hallway weapon.

The classic location is the Basement Storehouse at Military Training Facility B1, behind a shutter opened with the Emblem Card. Its four ammunition families make inventory planning as important as the pickup itself.

The AK47 Assault Rifle is found in the Weapon Room at Antarctic Transport Terminal B2, inside the northwest weapons locker in the classic route. Its ammunition is limited, so plan the pickup around a forced encounter.

The classic location is tied to Chris's Antarctic route, so Claire should not be treated as the character who naturally owns the Colt Python. Plan the character handoff and preserve other strong weapons instead of assuming she can use it immediately.

There is no single best weapon for every room. The Magnum has the highest emergency value, the shotgun controls close groups, the grenade launcher adapts to elemental weaknesses, and the handgun or bow gun protects rare ammunition during routine exploration.

Yes. The AK47 and Ingrams are powerful because they shorten dangerous encounters, but their ammunition is not a normal unlimited resource. Save them for bosses, forced crowds, or a route segment you have already planned.

No. It is classic Code: Veronica X guidance. Weapon placements, ammo counts, enemy balance, and character access in the remake must be confirmed through official first-party information.

No. Carry one routine weapon, one pressure answer when needed, healing, and the next route item. Store rare weapons and special ammunition in a known box so the inventory remains flexible.